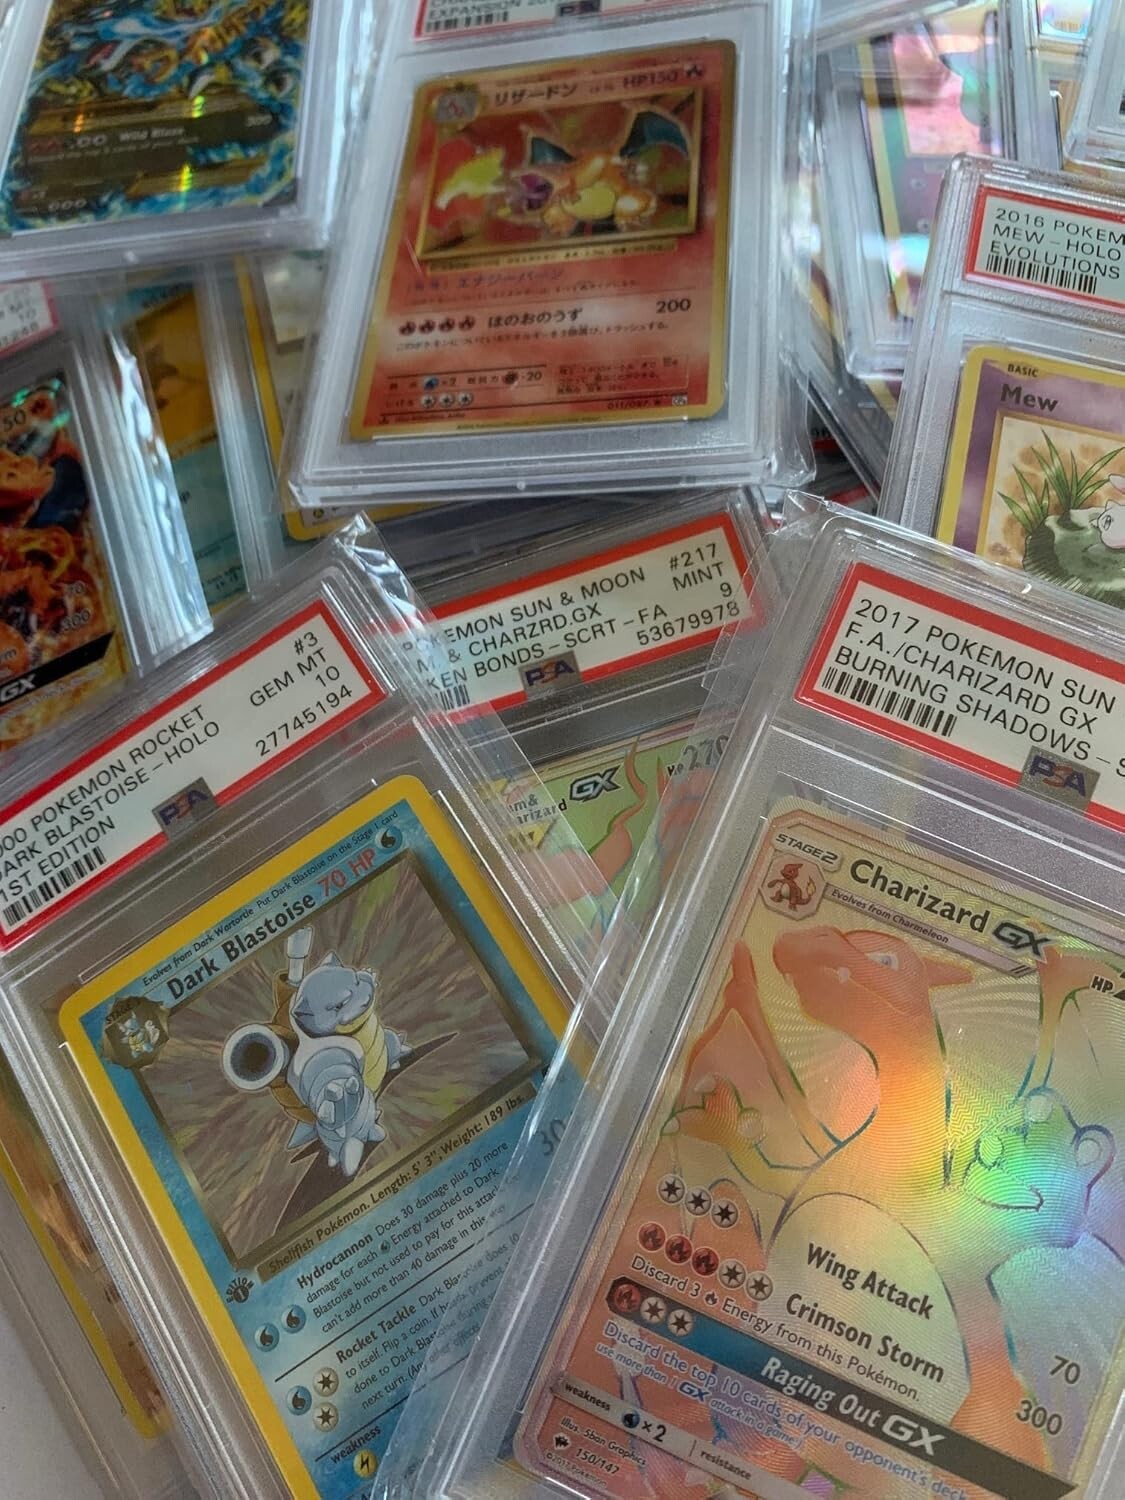
Step-by-Step Guide to Submitting Cards to PSA

Step 1: Card Evaluation
Before submitting, assess your card's condition:
-
Centering: Ensure the image is well-centered.
-
Corners: Should be sharp and free from wear.
-
Edges: Check for any damage or discoloration.Surface: Look for scratches, stains, or imperfections.
Step 2: Cleaning the Card
Use a microfiber cloth to gently remove dust or fingerprints. Avoid using any chemicals that might damage the card.
Step 3: Preparing for Shipment
-
Place the card in a penny sleeve.
-
Insert it into a semi-rigid holder (Card Saver 1).
-
Avoid using rigid top loaders, as PSA recommends semi-rigid holders.
Step 4: Registering on PSA's Website
-
Create an account on PSA.
-
Complete the online submission form, specifying details like service type and declared value for each card.
-
Print the form and include it with your cards.
Step 5: Packaging and Shipping
-
Sandwich the cards between two rigid pieces of cardboard and secure them with rubber bands.
-
Wrap the bundle with bubble wrap and place it in a sturdy box.
-
Include the printed form and ship the package to the address provided by PSA.
Step 6: Tracking the Process
-
Use your PSA account to monitor the status of your submission.
-
Stages include: Received, Research & ID, Grading, Assembly, QA Check, and Shipping.